How to Set the Size to FloatingActionButton In Flutter?
The floating Action Button represents the primary action of the screen and generally located at the right bottom of the screen. In today’s article, we will go through how to set the size to FloatingActionButton in Flutter.
In this blog post, we’ll walk you through the process of creating a new project in Flutter. Whether you’re a beginner or an experienced developer exploring Flutter for the first time, this comprehensive guide will help you kick-start your app development journey.
We’ll cover all the necessary steps, from installing Flutter and setting up your development environment to creating a new Flutter project using the Flutter CLI. You’ll learn how to configure your project, structure your codebase, and utilize Flutter’s powerful UI framework to build beautiful and responsive applications.
Set a Size to FloatingActionButton In Flutter
Use a Container where you can specify width and height, then use a RawMaterialButton, like this:
myFabButton = Container(
      width: 200.0,
      height: 200.0,
      child: new RawMaterialButton(
        shape: new CircleBorder(),
        elevation: 0.0,
        child: Icon(
          Icons.favorite,
          color: Colors.blue,
         ),
      onPressed: (){},
  );
Wrap your FAB with a FittedBox inside a Container or SizedBox and then change the width and the height of it.
floatingActionButton: Container(
        height: 100.0,
        width: 100.0,
        child: FittedBox(
          child: FloatingActionButton(onPressed: () {}),
        ),
      ),
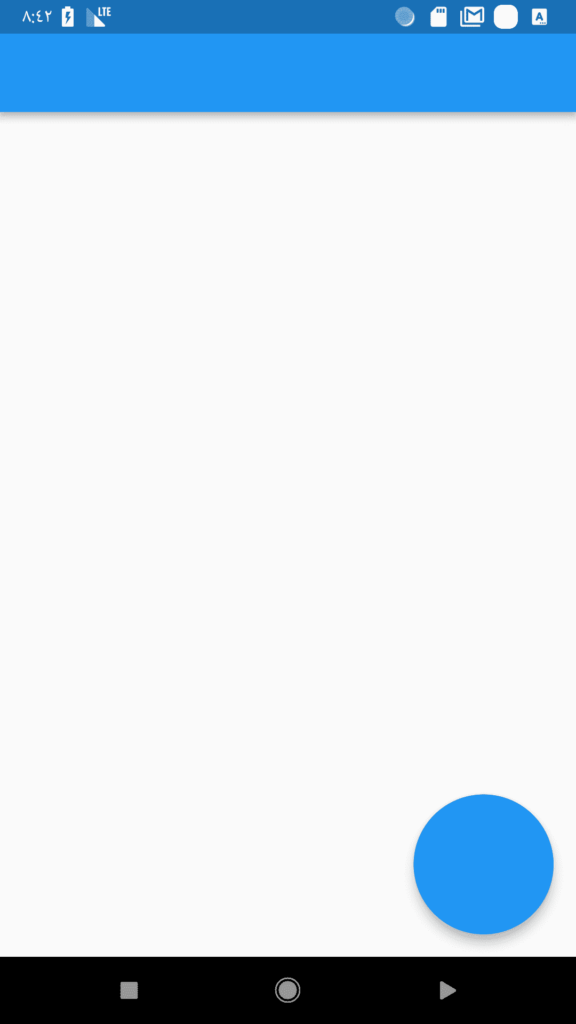
We will get output like a below:

- You can wrap your button with a Transform.scale() widget:
floatingActionButton: Transform.scale( scale: 1.5, child: FloatingActionButton(onPressed: () {}), ) - Use a SizedBox Widget
SizedBox( width: 200.0, height: 200.0, child: FloatingActionButton( onPressed: () {}, ), ) - You can also use RawMaterialButton like a below:
RawMaterialButton( elevation: 2.0, shape: CircleBorder(), fillColor: Colors.red, onPressed: (){}, child: Icon( Icons.add, color: Colors.white, size: 20.0, ), constraints: BoxConstraints.tightFor( width: 56.0, height: 56.0, ), ) - Instead of using regular FloatingActionButton() use FloatingActionButton.extended()
FloatingActionButton.extended(
  onPressed: () {},
  icon: Icon(Icons.save),
  label: Text("DOWNLOAD"),
),
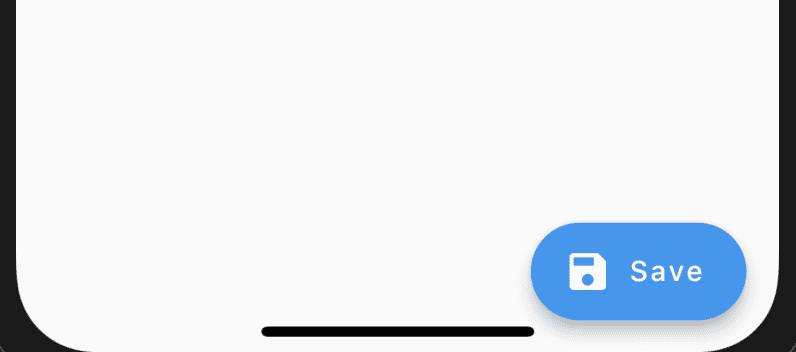
We will get output like a below:
Floating Action Button - This makes FAB 40 logical pixels wide and tall compared to its original size of 56.
FloatingActionButton( mini: true, // set it to true onPressed: () {}, ) - We have to apply generic solutions here, which should be constant in all the UI.
Scaffold(
      floatingActionButton: Container(
        height: MediaQuery.of(context).size.width * 0.2,
        width: MediaQuery.of(context).size.width * 0.2,
        child: FloatingActionButton(onPressed: () {}),
      ),
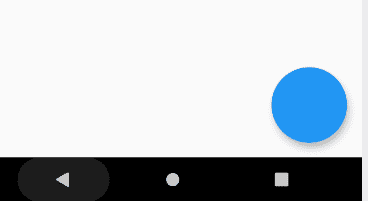
Set width and height using MediaQuery which will be the same across the devices. The above code will give us output like a below:
Floating Action Button Widget
Here is an Extra tip of the day for you :
Why Should Mobile App Startups Choose Flutter…Flutter uses its own graphics rendering engine called Skia which is google’s performance graphics engine.
This gives you complete control over the entire pixels which are present on the screen, opening the door to new possibilities. Continue reading on Think Technologies.
Conclusion:
Hope you have learned from this article !!!
Keep Learning!!! Keep Fluttering !!!
So in this article, we have been through how to set the size to FloatingActionButton in flutter.
Do not forget to drop your valuable suggestions/feedback. We would love to assist you.
Contemporary ventures
Recent blog
ready to get started?
Fill out the form below and we will be in touch soon!
"*" indicates required fields


