FormField Widget – Flutter Widget Guide By Flutter Agency
Flutter offers a widget called “Form”, much like an HTML form. All this is a container for a bunch of form widgets. The two major ways we use a form is to one, validate its Form field and two, save the form.
What is FormField Widget in Flutter?
FormField Widget maintains the current state of the form field so that updates and validation errors are visually reflected in the UI.
Flutter offers two general categories of Formfield Widget, one on the Material Design style and one in the Cupertino style. We’ll cover both in this article but the Material Design Formfield Widget in more depth since they are more customizable when developing custom UI.
Material Design Textfield Widget supports validation, we can implement a ‘validator’, which will be triggered when we validate our form. Let add TextFormField Widget using the code snippet as below :
TextFormField(
    decoration: InputDecoration(labelText: 'First name'),
    validator: (value) {
      if (value.isEmpty) {
          return 'Please enter your first name.';
      }
    },
),
Finally, we need to update our state whenever the form is saved. onSaved() will look like below :
TextFormField(
    decoration: InputDecoration(labelText: 'First name'),
    validator: (value) {
      if (value.isEmpty) {
          return 'Please enter your first name.';
      }
    },
    onSaved: (val) => setState(() => _user.firstName = val),
),
Let’s add one more component to our form Switch like below.
  SwitchListTile(
                      title: const Text('Monthly Newsletter'),
                      value: _user.newsletter,
                      onChanged: (bool val) =>
                          setState(() => _user.newsletter = val),
                    ),
In the above code, we have implemented a SwitchListTile. What this does is give us a “list tile” that nicely supports a text label on the left and right aligns our switch to the right.
Validating and Saving our Form :
Create a RaisedButton Widget like below :
ElevatedButton(
                        onPressed: () {
                          final form = _formKey.currentState;
                          if (form.validate()) {
                            form.save();
                            _user.save();
                            _showDialog(context);
                          }
                        },
                        child: Text('Save'),
                      ),
RaisedButton Widget will Validate our form, If it’s valid, trigger all ‘onSaved’ functions in each of our widgets and save our user model by submitting the values to a web service API.
The complete Source Code will look like below :
import 'package:flutter/material.dart';
import 'package:multiImagePicker/model/User.dart';

class FormFieldWidget extends StatefulWidget {
  @override
  _FormFieldWidgetState createState() => _FormFieldWidgetState();
}

class _FormFieldWidgetState extends State<FormFieldWidget> {
  final GlobalKey<FormState> _formKey = GlobalKey<FormState>();

  final _user = User();

  @override
  Widget build(BuildContext context) {
    return Scaffold(
      body: SingleChildScrollView(
        child: Container(
          padding: const EdgeInsets.symmetric(
            vertical: 16.0,
            horizontal: 16.0,
          ),
          child: Builder(
            builder: (context) => Form(
              key: _formKey,
              child: Column(
                  crossAxisAlignment: CrossAxisAlignment.stretch,
                  children: [
                    TextFormField(
                      decoration: InputDecoration(labelText: 'First name'),
                      validator: (value) {
                        if (value.isEmpty) {
                          return 'Please enter your first name';
                        }
                      },
                      onSaved: (val) => setState(() => _user.firstName = val),
                    ),
                    Container(
                      padding: const EdgeInsets.fromLTRB(0, 50, 0, 20),
                      child: Text('Subscribe'),
                    ),
                    SwitchListTile(
                      title: const Text('Monthly Newsletter'),
                      value: _user.newsletter,
                      onChanged: (bool val) =>
                          setState(() => _user.newsletter = val),
                    ),
                    Container(
                      padding: const EdgeInsets.symmetric(
                          vertical: 16.0, horizontal: 16.0),
                      child: ElevatedButton(
                        onPressed: () {
                          final form = _formKey.currentState;
                          if (form.validate()) {
                            form.save();
                            _user.save();
                            _showDialog(context);
                          }
                        },
                        child: Text('Save'),
                      ),
                    ),
                  ]),
            ),
          ),
        ),
      ),
    );
  }

  _showDialog(BuildContext context) {
    Scaffold.of(context)
        .showSnackBar(SnackBar(content: Text('Submitting form')));
  }
}
Define user class in a model like below :
class User {
  String firstName = '';
  bool newsletter = false;
  save() {
    print('saving user using a web service');
  }
}
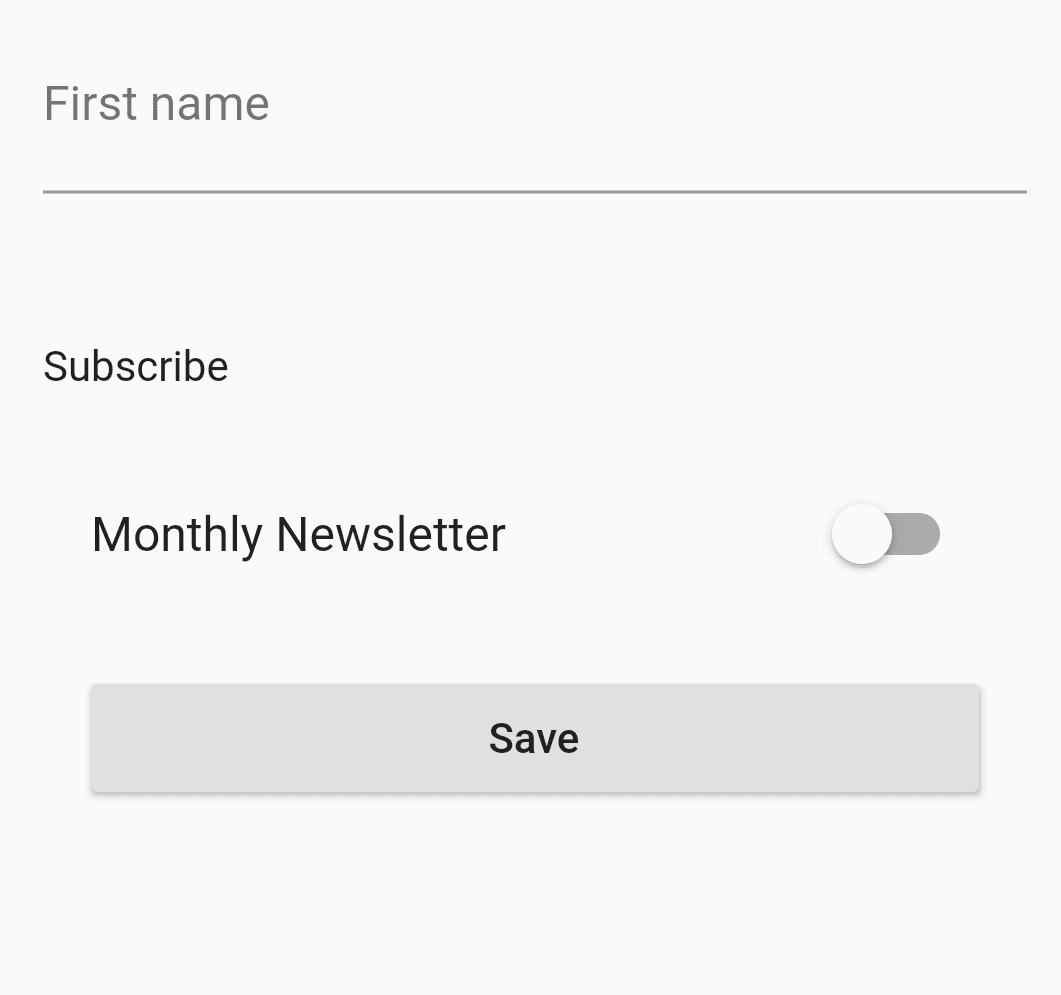
We will get output like below :
FormField Widget
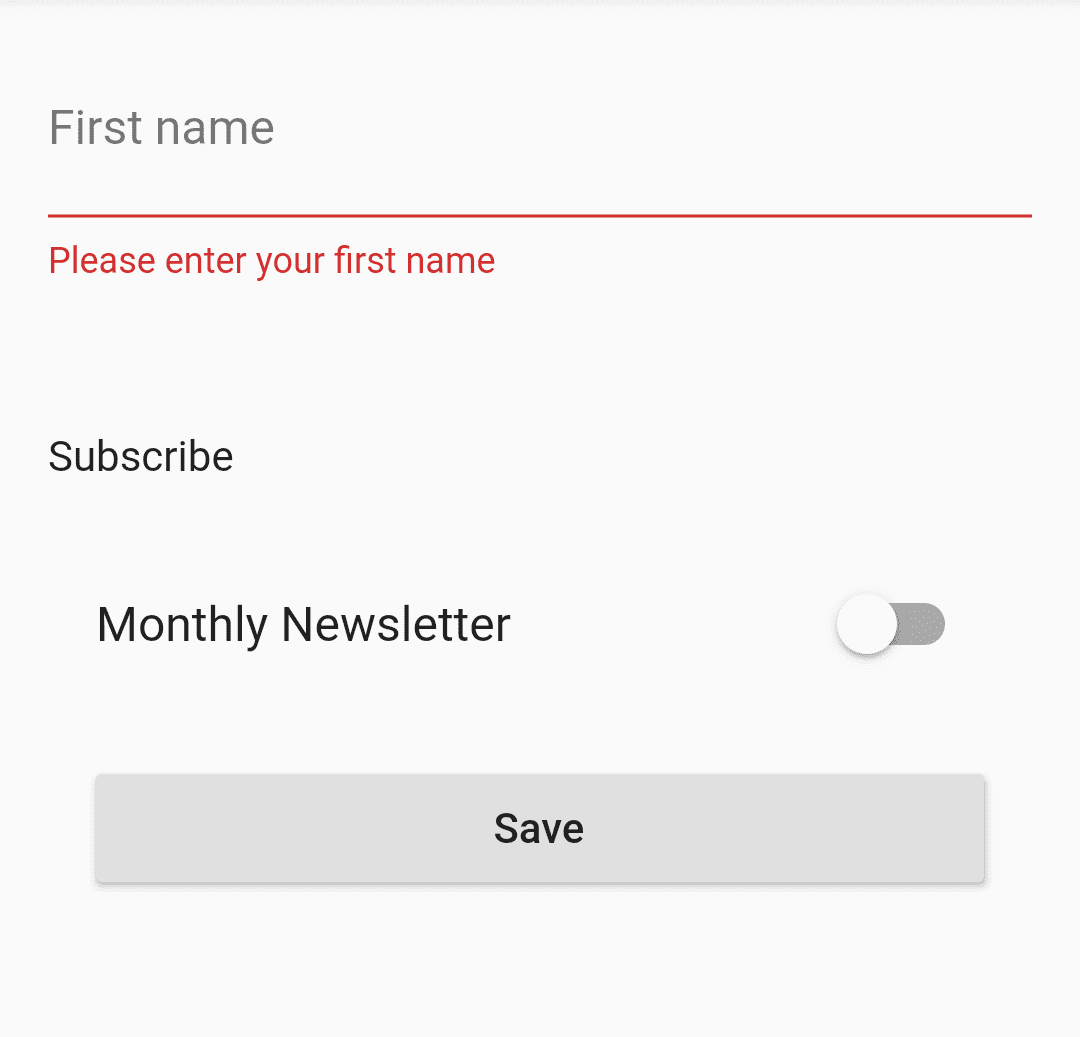
when the user press on the save button onPressed() will be called and validation status will be checked. We will get output like below :
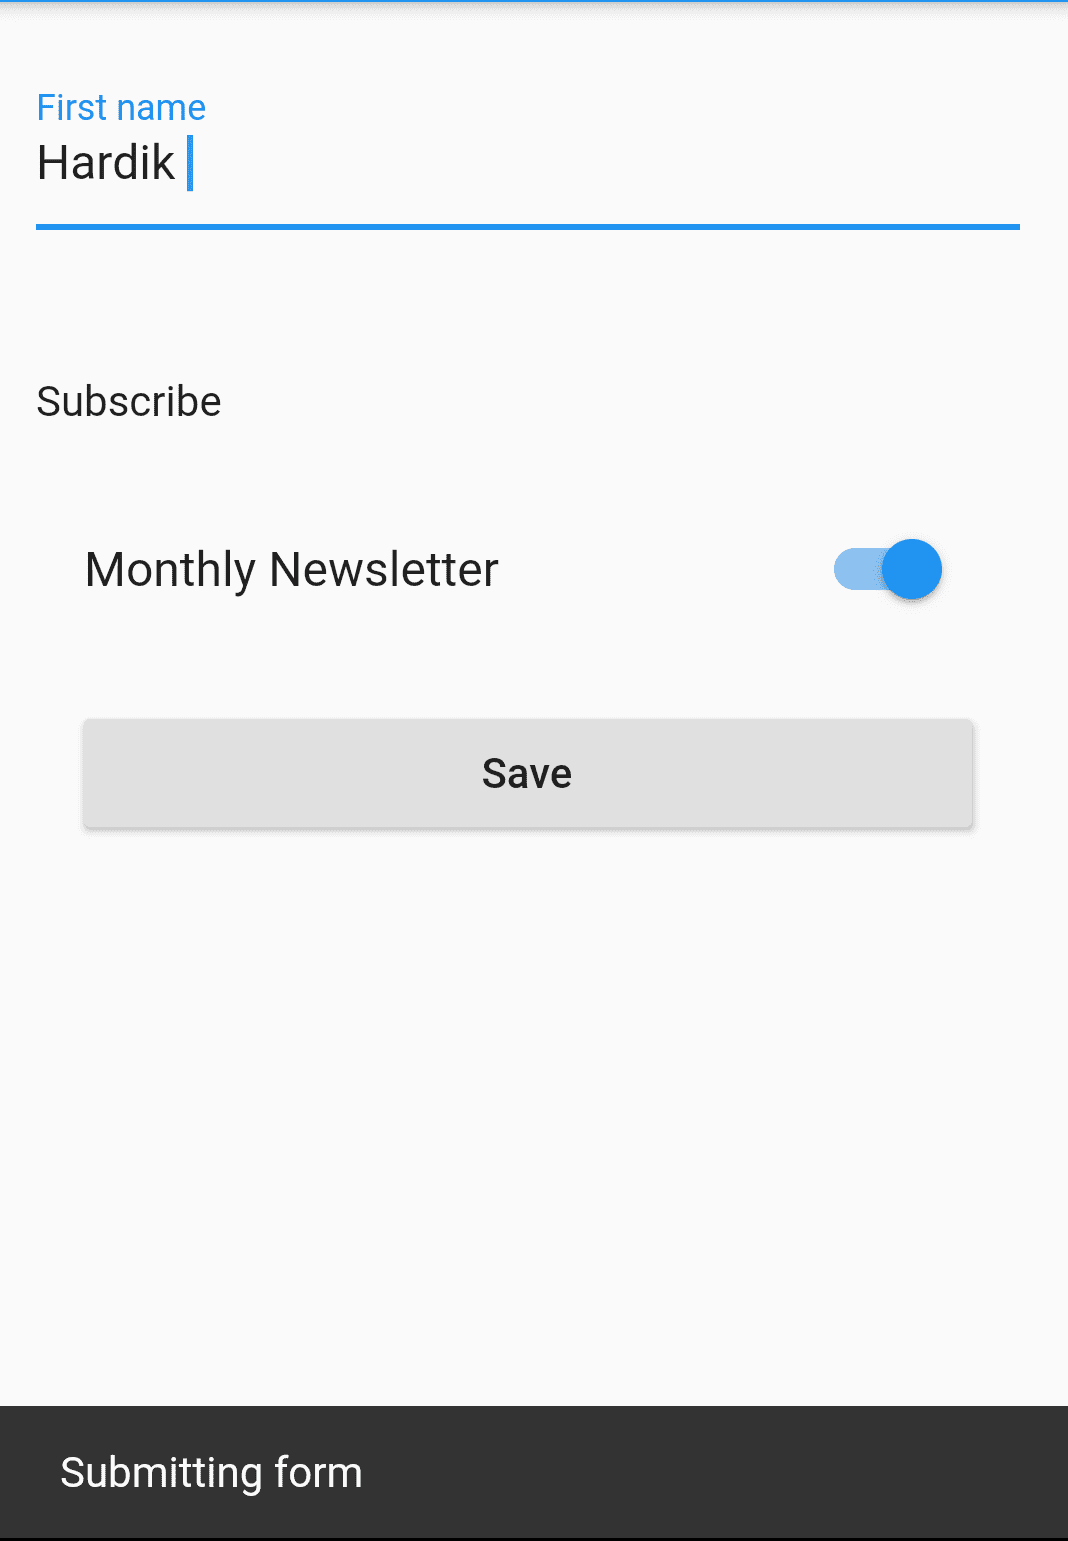
When the user enters a value in TextFormField Widget our output will look like below :
FormField Validation
Conclusion:
In this article, we have been through What is FormField Widget in Flutter along with how to implement it in a Flutter.
Thanks for reading !!!
Keep Fluttering !!!
FlutterAgency.com is our portal Platform dedicated to Flutter Technology and Flutter Developers. The portal is full of cool resources from Flutter like Flutter Widget Guide, Flutter Projects, Code libs and etc.
FlutterAgency.com is one of the most popular online portal dedicated to Flutter Technology and daily thousands of unique visitors come to this portal to enhance their knowledge on Flutter.
Contemporary ventures
Recent blog
ready to get started?
Fill out the form below and we will be in touch soon!
"*" indicates required fields


